


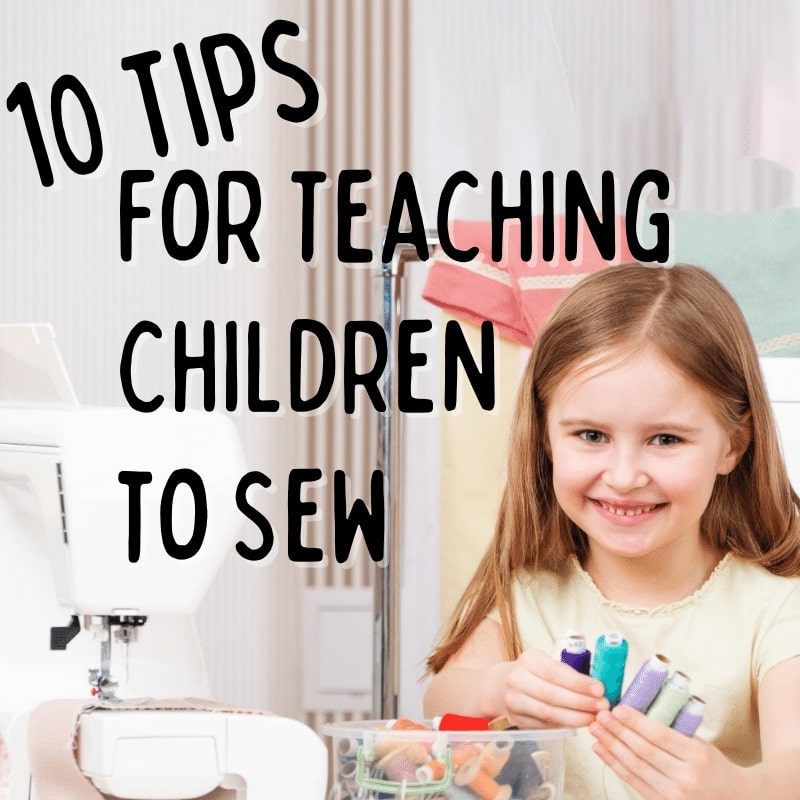
10 Wise Tips for Teaching Children to Sew
Nothing is more fulfilling than educating and including your family in your interest. Sharing and fostering your passion is a great way to remind yourself of your journey as you learnt how to sew. This rewarding experience is only amplified as they start to finish and take pride in their little craft project.
Here are some fundamental tips that will help you improve your little sewing students’ sewing abilities and help them truly enjoy sewing and crafting:
Do not be afraid to begin at a young age.
There is no certain age at which you should begin exposing your kid to the beautiful world of sewing, but the sooner you start, the more likely it is that the information and the abilities will remain. Of course, every child is unique, so there is no fixed age. Depending on the child, you may start teaching them the fundamentals of working a machine as early as age 4, but 6 is often the preferred age. It is often OK to let a youngster sew on their own when they are 8 years old. Just make sure you properly walk them through the safety aspects as the first step! Start by showing the child how to use the pedal while guiding the fabric. Instruct them to remove their foot from the pedal as soon as they want to stop, and make sure they always keep their hands away from the needle.
Did you know that you can get finger guards for sewing machines? Check them out here.
 Let them use the real thing.
Yes, there are some lovely toy machines that kids can use from a very young age, but don’t be afraid to let them use an actual sewing machine when you feel like they’re ready. Toys are toys, but the best way to educate them on how to sew is to work with the real deal. This will encourage them to learn and appreciate real sewing.
Avoid rushing them.
Gradually introduce sewing to your child so that they can grasp the concept. Slower can be safer and much simpler. Although you may want to hurry them along, resist the desire. They will eventually learn and start sewing at a comfortable pace.
Allow them to choose the projects.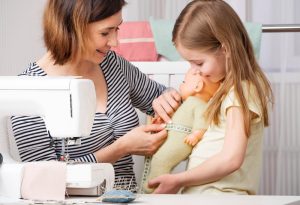
Allowing your kids to choose the fabric, the design, and the various colours will engage them.
Although your kid’s first sewing endeavours may seem somewhat bizarre and absurd, it is far more probable that your child will like working on a project that it has independently planned.
When the youngster is designing their project, assist them by pointing out the materials and patterns that will be simpler for them. As a result, they will be able to perfect their sewing skills without experiencing the pain of making mistakes while dealing with some of the trickier materials and patterns. For an easy material to start learning on, try suggesting fleece or quilting cotton.
Practice and repetition are the keys to success.
Do not prevent your youngster from producing the same thing again. Allow them to continue working on a specific design if they are enjoying it. Your young one is making progress, and you’ll soon be able to see it in each project they complete!
Avoid using thin tissue for the designs.
Using cardboard to trace and cut out designs for your children is considerably simpler. If you do this, your little sewist will find it much simpler to sew and finish a project.
Create for them the stitching lines.
Draw out stitching lines on the fabric for your youngster to follow, making the work simpler for them. I advise drawing the lines on the cloth rather than stitching them since young children may find it difficult to maintain a straight line, particularly if it is imagined.
When a child is old enough and confident handling the presser foot and the kid-friendly sewing machine, you may let them stitch without having to draw each line for them.
Teach the kid how to properly utilize the fabric.
It seems that every child enjoys cutting a single design closely in the centre of a piece of cloth. To enable students to cut more pieces from a single piece of fabric, it is crucial to explain and demonstrate how to arrange the various sections of the material.
 When hand-sewing, use thick thread.
Thick thread is magnificent when teaching a youngster to sew by hand. Since it doesn’t tangle and knot up like conventional thread, it is simpler to deal with. So, while teaching your youngster to sew, use upholstery and hand quilting thread. To make your child’s hand sewing project even simpler, use an embroidery needle with a bigger eye. To allow your child to quickly go back and undo a poor stitch, re-thread the needle, and continue thereafter, it is a good idea to keep the thread untied and single.
Make it enjoyable for you.
Don’t forget to enjoy yourself! When working on a sewing project with your kid, it is important to have fun and enjoy the experience. Children like games and fantastic challenges. Their tasks will go more quickly the more they learn to appreciate the process. Try to persuade your kid to feel the same feeling of delight and satisfaction while working on their sewing projects by keeping in mind the joy you feel when you are working on a new project.